
🧰 Project 1A: Constant LED!
This Project is an Example of…
POWER INDICATOR LIGHTS
When you plug in a device, like your phone, to an outlet, a light will appear to show you that it’s connected to power!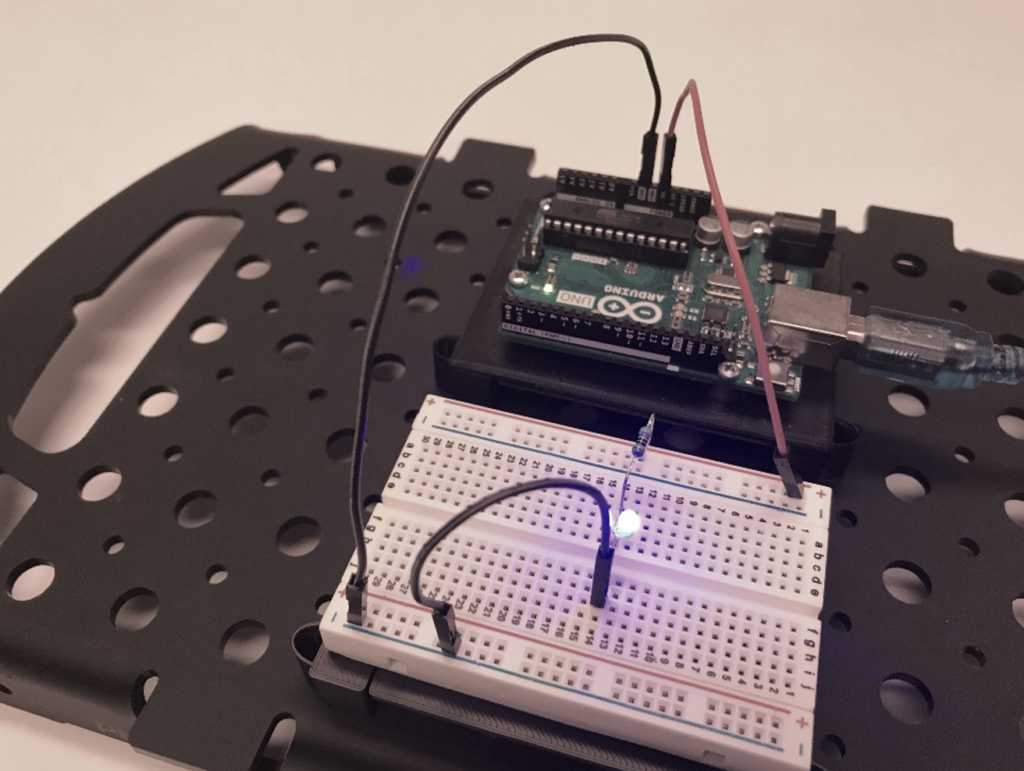
This is the first of several practice projects to get you comfortable working with the Arduino and building breadboard projects.
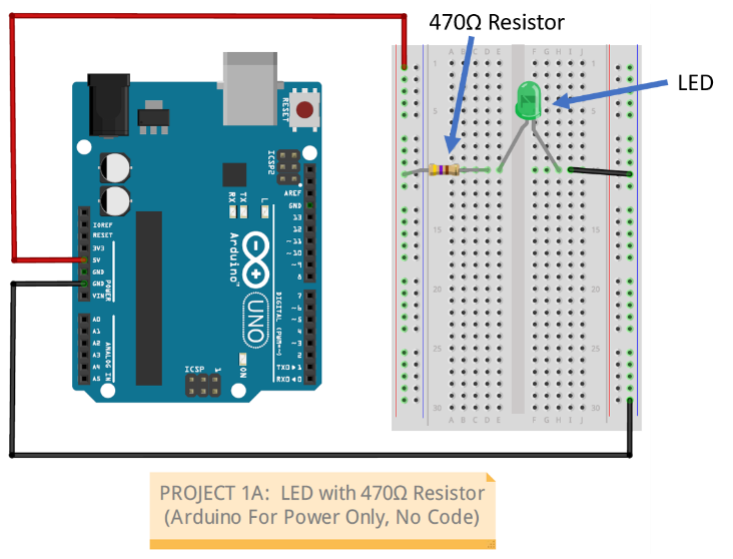
In your first Arduino project, we will not be using any code for the project. We’ll just be using the Arduino to supply power to a light-emitting diode, or LED. When the Arduino is plugged into a computer or battery, it can function as a power supply, and that’s how we are going to use it here.
When this project is correctly wired up, the LED on the breadboard will light up and stay lit as long as your Arduino is plugged into your computer via the USB cable.
This is a very simple project, but it will let you practice inserting components correctly into a breadboard and safely/properly connecting a breadboard to an Arduino to draw power from the power pins on the Arduino.
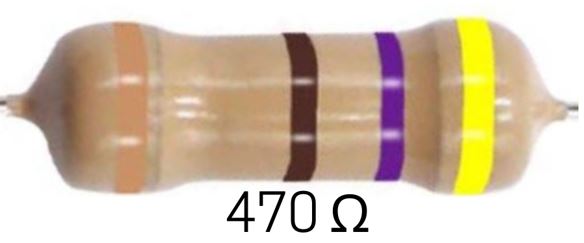
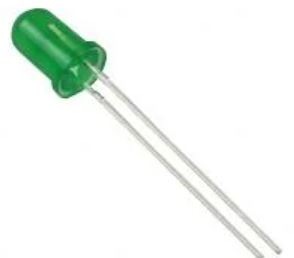
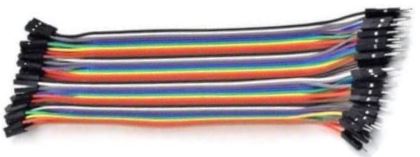
Required Components


Opening the Fritzing Diagram
Fritzing Diagram
Wiring Tips for Your First Project
- SAFETY: Do NOT apply power to your Arduino until you are finished wiring.
- When inserting small wires into the breadboard sockets, grasp the wires gently but firmly as close as possible to the end so they don't fold up or bend as you insert them into the socket.
- Push them straight down into the socket until you feel them bottom out in the socket.
- Breadboard sockets need to make good electrical contact with the wire, but that sometimes makes it more difficult to get the wire to go in.
- SUGGESTION: Practice with the jumper wires first. They have stronger leads than the LEDs and resistors. If a particular socket on the breadboard is fighting your efforts, try a different socket in the same row or column (that is, one that follows the same logical path).