
🧰 Project 2C: Pushbutton Switch Actuated LED!
This Project is an Example of…
ELEVATOR BUTTONS
Going up? When you push a the button to call an elevator, it sends a signal to a microcontroller that directs the car to the level where the button was pressed!In this project we are going to turn an LED on a breadboard on and off by using a pushbutton switch on the breadboard. The switch does not directly control the LED; instead, the switch sends a signal to the Arduino which then turns the power on or off directly to the LED.
It may seem unnecessarily complicated to use a switch to tell a computer to turn a light on or off. Why not just directly connect the switch to the light?
While that may be true for this exercise, in many real-life situations the manually actuated switch can be replaced by some other automated signal. The ability for the Arduino to intercept that signal and then initiate some other action is an important component of many types of industrial or commercial automation projects.
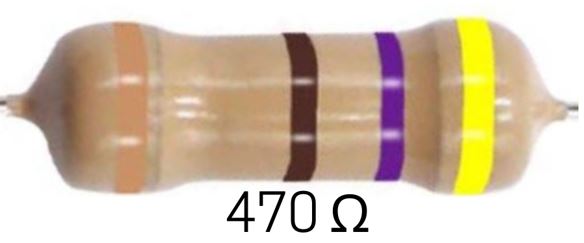
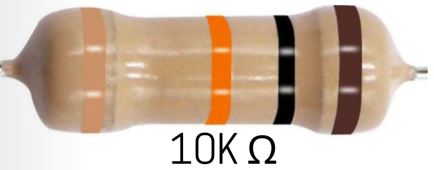
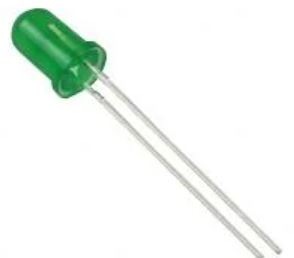
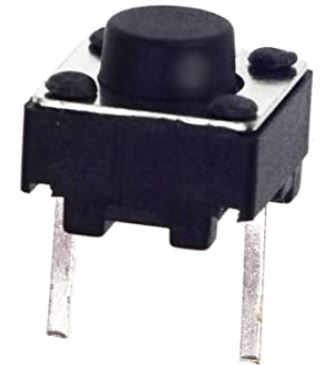
Required Components


Add Sketch to Editor
Download the Sketch
Fritzing Diagram
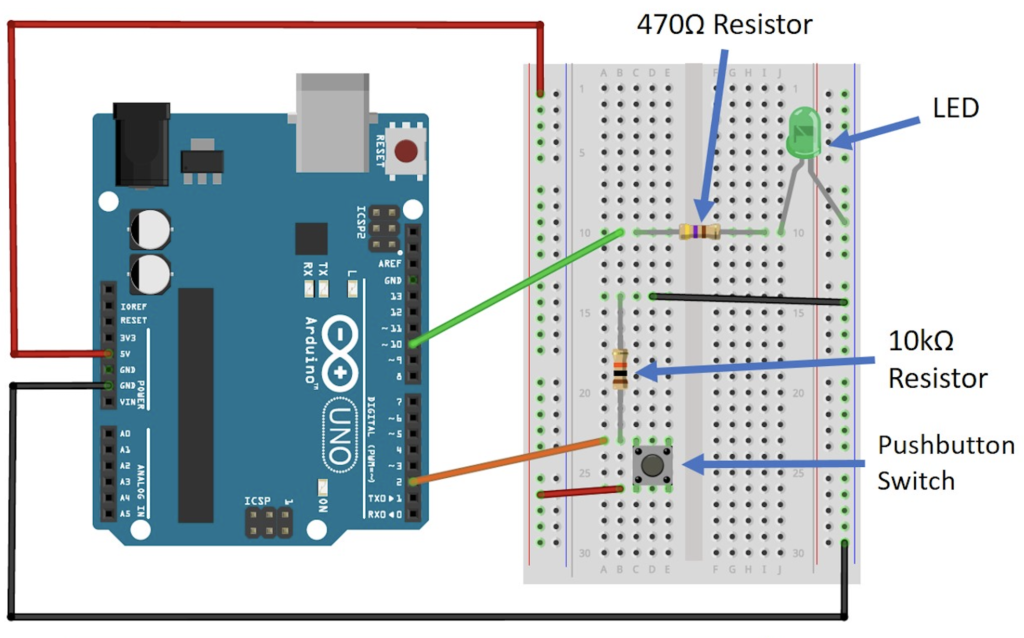
Now that you've wired up a few projects, try to build this one just by looking at the diagram above.
Building Tips
- Wire this project according to the Fritzing diagram for Project 2C.
- This is a more complicated build than the previous two projects; take your time and make sure all the breadboard connections are in the right places.
- Pay close attention to where the prongs on the switch go; it helps to write down the row number of these prongs so you can place their matching jumper wires correctly.
- IMPORTANT: Make sure to plug the long leg of the LED next to the resistor, and the short leg of the LED into the ground power column that the black jumper wire is connected to.
- Make sure to use Digital Pin 10 for the color jumper wire to the LED.
- Double-check your connections before powering up.
- UPLOAD AND SAVE the correct/current sketch to your Arduino from the Web Editor.
Expand Your Learning
- List other inputs besides a manual pushbutton switch that you might want the Arduino to respond to.
- How could you use this concept to automate something in your life that you now do manually?