Time to get our car to start staying within the lines!
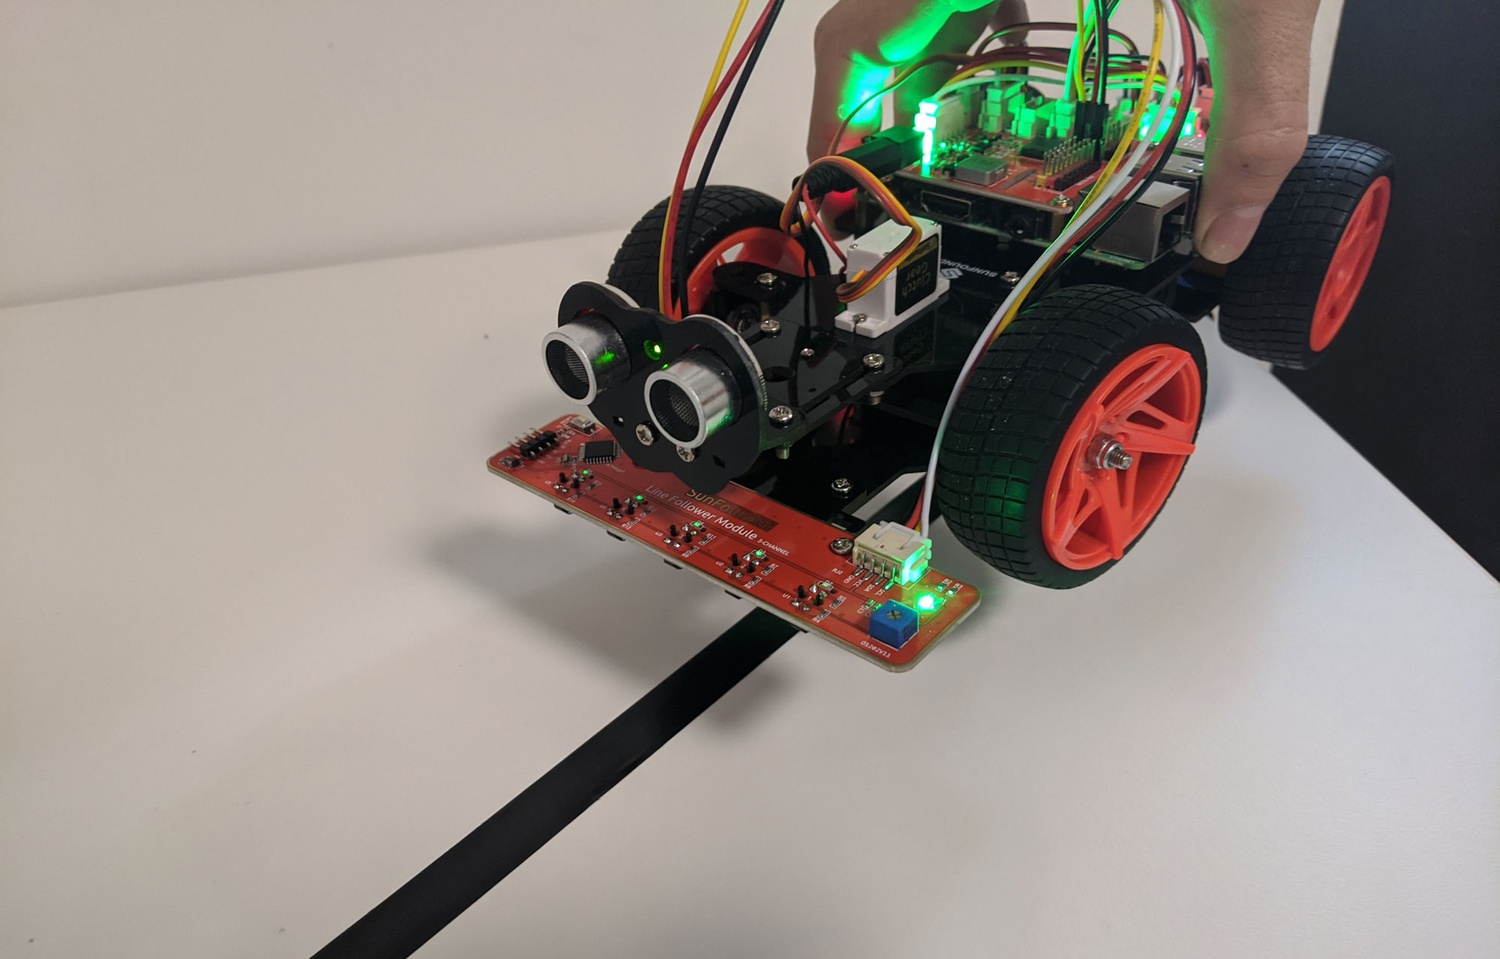
The line follower module is really cool. It has 5 sensors along its board and each is processing the color gradient of its environment, translating that input into a digital signal and sending that information to the processor.
Our Line Follower Module can also use Dragit. It uses its own variable to communicate with the sensor called line_follower state.
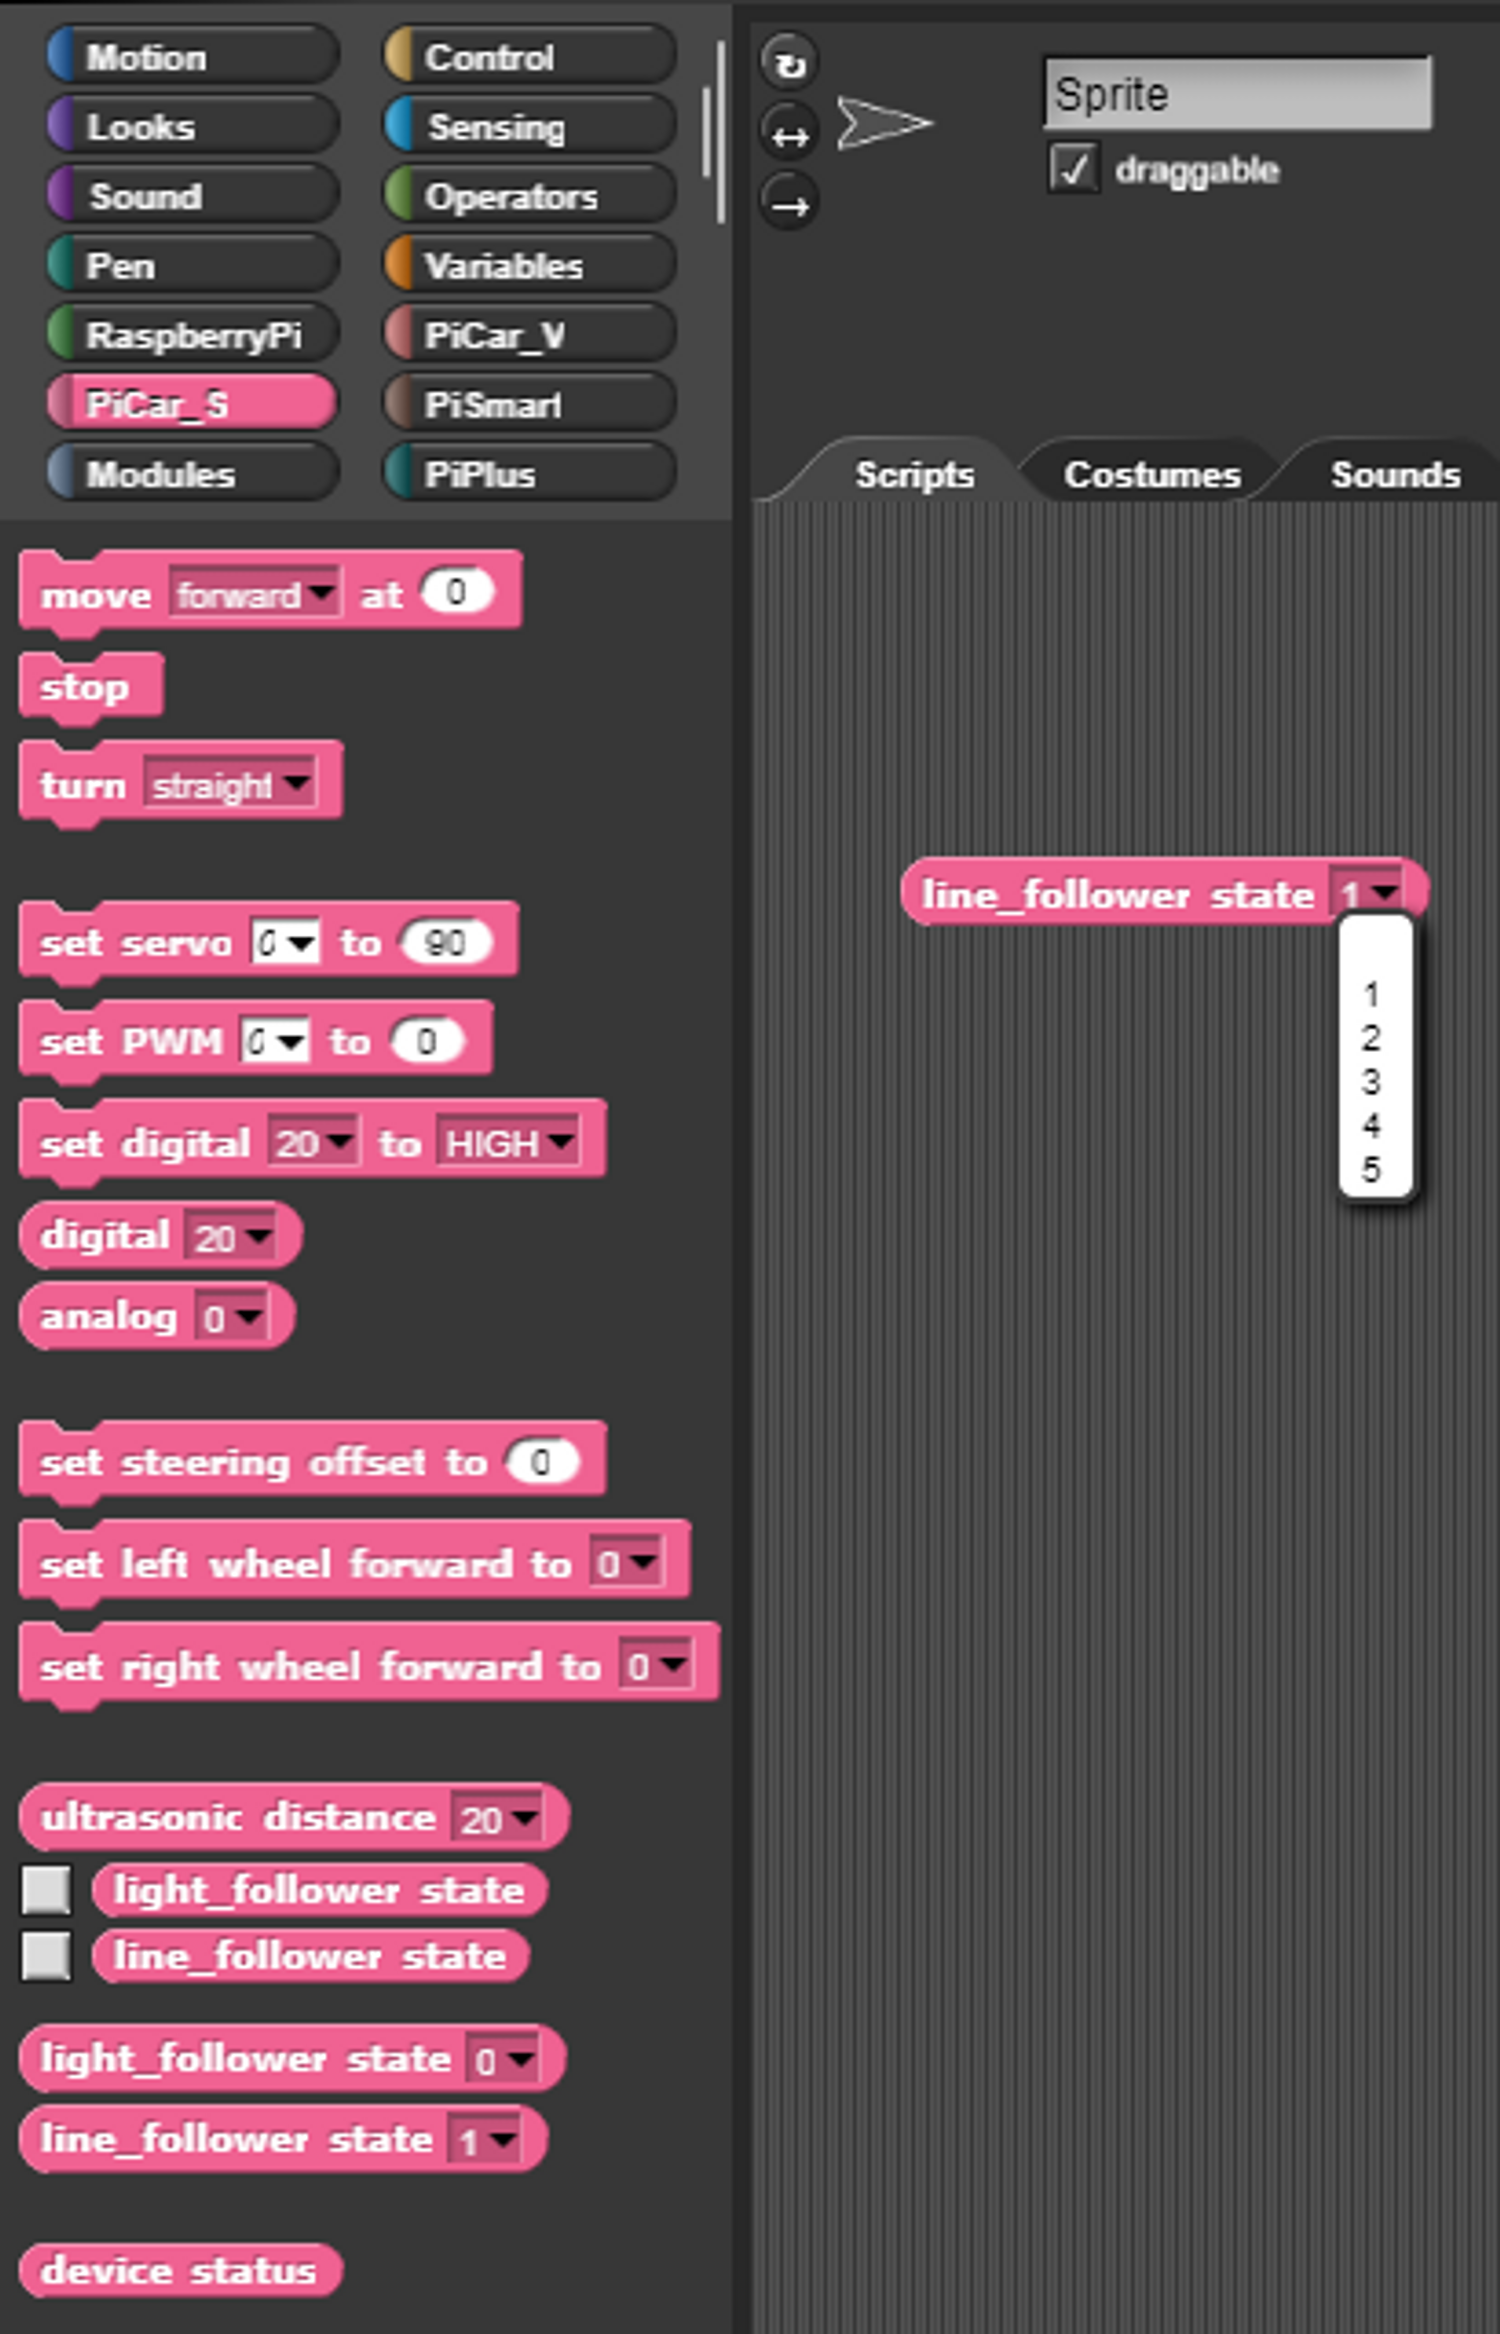
Since there are five sensors, you will notice that this variable in a 5-channel array.
To get it working, download the linefollower.xml program below and import it into Dragit.
You can see how the sensor works by putting it on a white surface, like a piece of paper, and then sliding a dark object underneath the sensors. Check out how the green lights on top of the board dim accordingly. You may want to consider blocking up the back wheels or temporarily removing them so that your car doesn’t drive while you’re testing, as I have done in the video below.
Pretty cool right?
Calibrating the Sensor
Making Your Line Course
Once you’ve calibrated your sensor, get some dark electrical tape or paper and a sharpie and draw a line about 3/4″ wide. Depending on how solid you’re front wheel assembly is, you may run into a few issues around curves, so create gradual curves rather than sharp ones. You should notice that your car will move its front wheel to stay on track with the line!
Now you’ve got two sensors onboard your car that can be used to create more complex programs!
