
🧰 Building the Base!
Lower Base Plate Construction
For this step you will need:
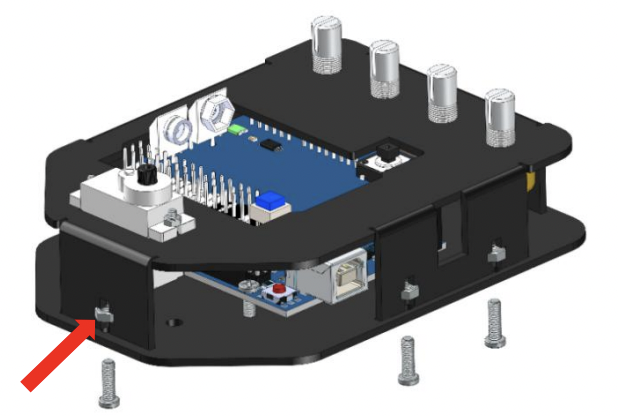
- Arduino Uno
- Plate 1
- 4x M2.5 x 12 Screws
- 4x M2.5 Nuts
The pieces will be put together like in the following image with the nuts on the underside of the plate.
Note: Pay attention to the orientation of the Arduino before securing it and be sure not to over-tighten so that the board can remain level.

Now that the Arduino is secured we can add the expansion board to the top of the Arduino. Once again, notice the orientation of both boards before inserting the pins.

Upper Base Plate Construction
Now you can set aside the lower base plate while we construct the upper base plate. This base plate will require the following parts:
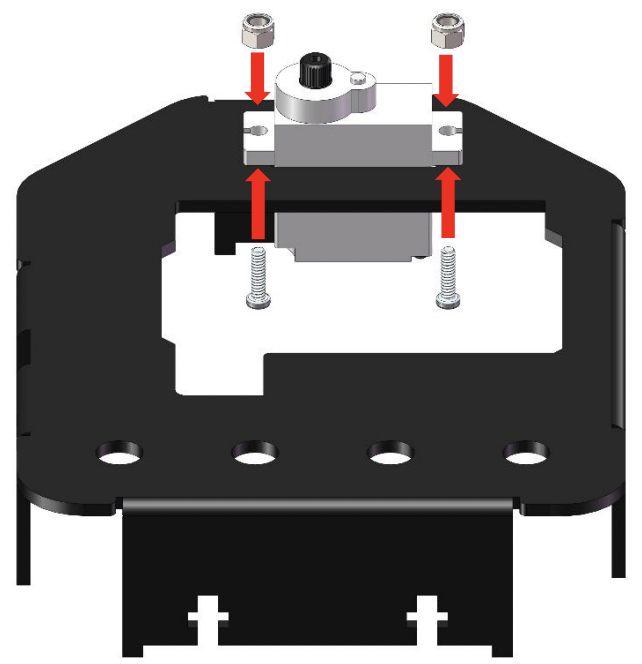
- 1x Servo
- Plate 2
- 2x M2 x 8 Screws
- 2x M2 Nuts
Once again, look at the image below to see the orientation of each part and make sure the nuts are on the top side of the servo.
Note: Push the servo wire through the hole before inserting the servo into its slot and double check that the servo is in the correct orientation before continuing to the next step.
Connecting the Base Plates
Now that both base plates are constructed, we can attach them to each other. This step can be a bit finicky so take your time and remain calm. For this step you will need the following parts:
- Completed Upper Base Plate
- Completed Lower Base Plate
- 7x M3 x 10 Screws
- 7x M3 Nuts
Sandwich the two base plates together so that the tabs on the upper base plate fit into the small rectangular holes on the lower base plate and the knobs go into their circular holes.
The M3 nuts need to be slid into the cross pattern in the upper plate as seen in the image below and the M3 screws will then be tightened into them.
Note: Once again, this step can be frustrating. I find that turning the whole base on the side and holding nut until I can get the screw started makes it slightly easier.
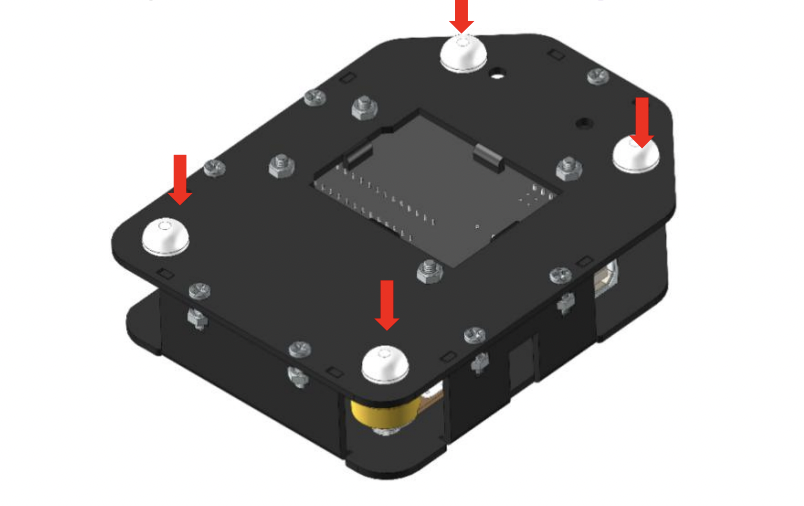
After the base is completed, you can apply the four non-skid pads to the underside of the bottom base plate like in the picture below.
Congratulations! You have completed the steps to building the base of our robot arm! In the next step, we will build and attach servo rocker arms!