
🧰 Final Steps!
Attaching the Gripper Arm!
Now that our servos are calibrated and installed, we can finally attach the gripper arms. For this step, you will need the following parts:
- Plate 6
- Plate 7
- Band Edge Bearing
- 3 x 10 x 1 Washer
- M3 x 12 Aluminum Tube
- 2x M3 x 6 Screw
- 1x Servo Screw
Take a look at the video below to see how to attach the grippers to the arm.
Note: Make sure not to turn the servo when installing the arm.
Adding the Controls!
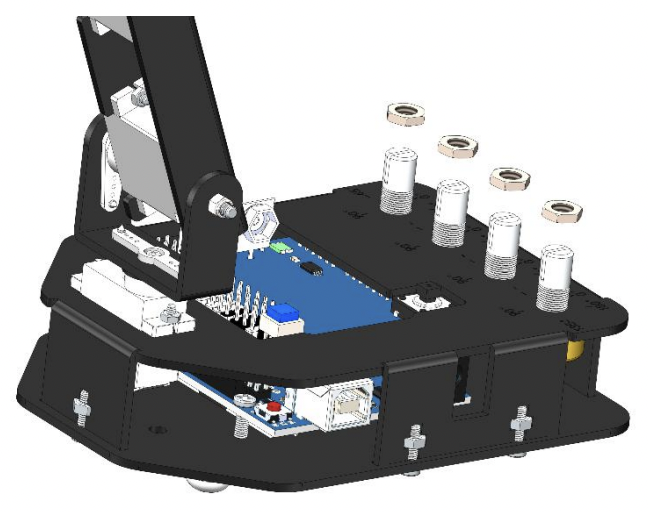
Now we just need to make the robot arm easier to use by installing the knobs and button! For this step, you will need the following parts:
- 4x M7 Thin Nuts
- 4x Potentiometer Caps
- 1x Yellow Button
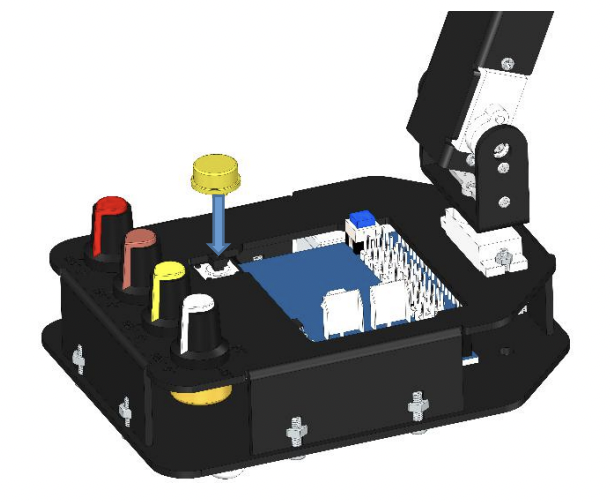
Tighten each M7 Thin Nut onto the potentiometers like you see in the following picture.
After you have secured the nuts, turn each potentiometer clockwise as fas as they will go. Once you have done that, you can press down the caps onto the dials. Make sure that the bump is pointing to the position you turned the dial to!
Finally, push the yellow button cap down onto the location shown in the following picture.
Congratulations! You have completed the build on your arm! All there is left to do is to flash the Arduino with the correct code!