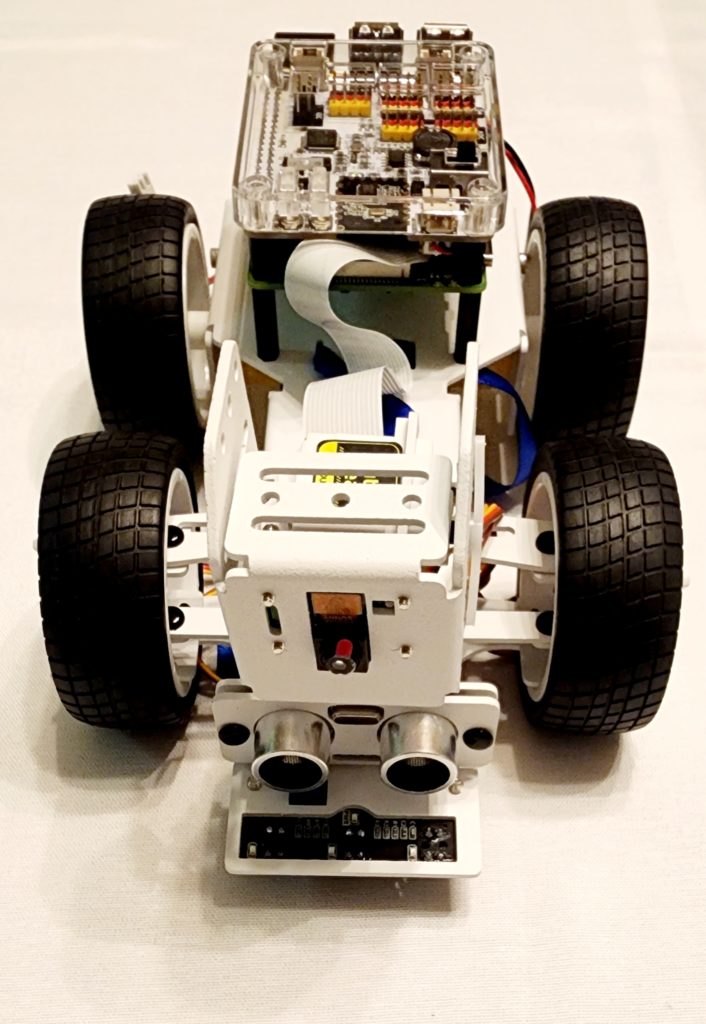
🛞 Step 11: Front and Rear Wheel Assembly
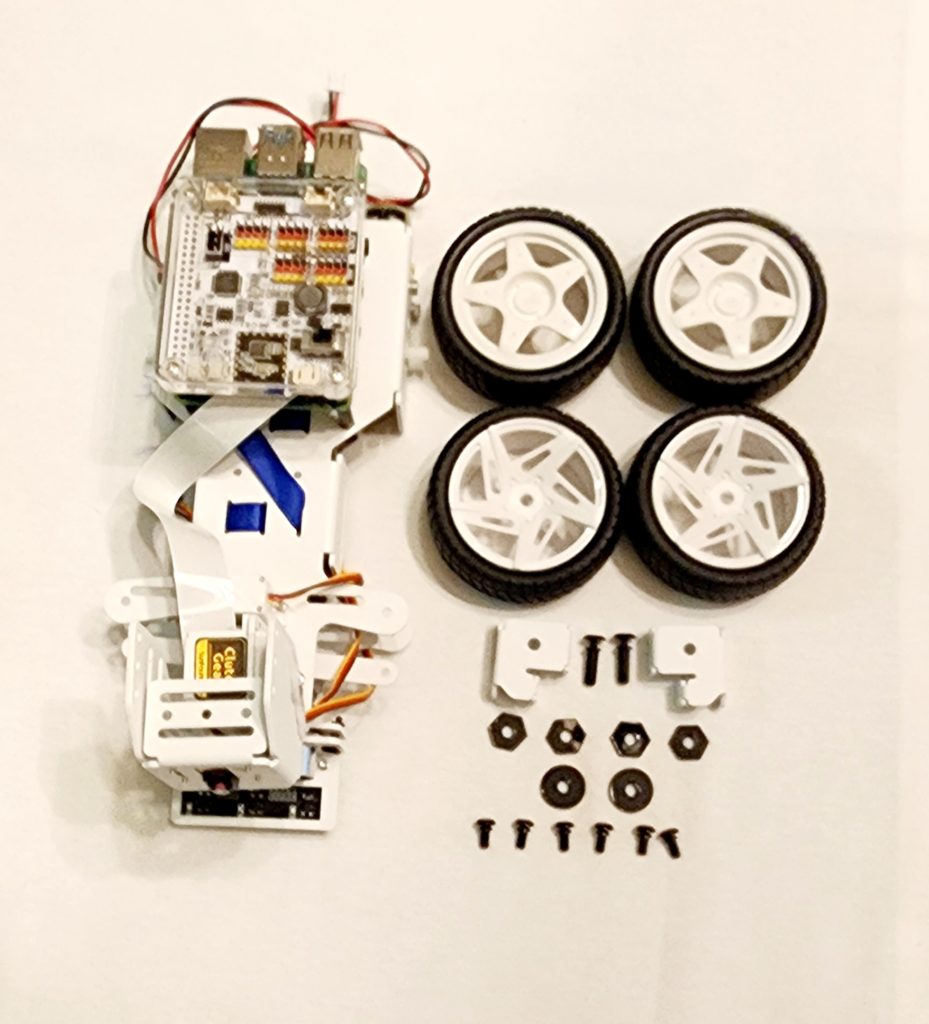
You will now add the Rear Wheels and create the Front Wheel Assembly. Find the items shown below to begin.
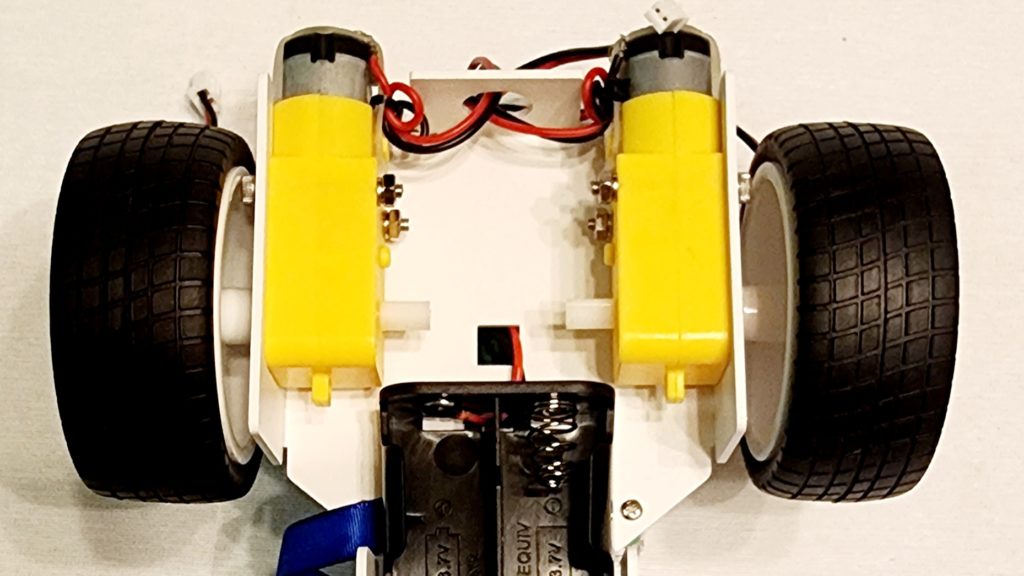
Add the Rear Wheels
To complete the Rear Wheel Assembly, stick the rear wheels onto the motors as shown below. Note that the rear wheels look different from the front wheels. Go back to the materials list page to spot the difference. Rotate them a bit to ensure they spin.
Build the Front Wheel Assembly
First, attach the A5 Structural Plate using three R3065 Rivets as shown below. Note that the A5 and A6 Structural Plates are slightly different. Ensure you have the correct one by looking at the images below. Remember to gently press on the top of the rivets when you have them in the correct position to lock them into place.
You will now attach the A6 Structural Plate using three R3065 Rivets on the other side of the car.
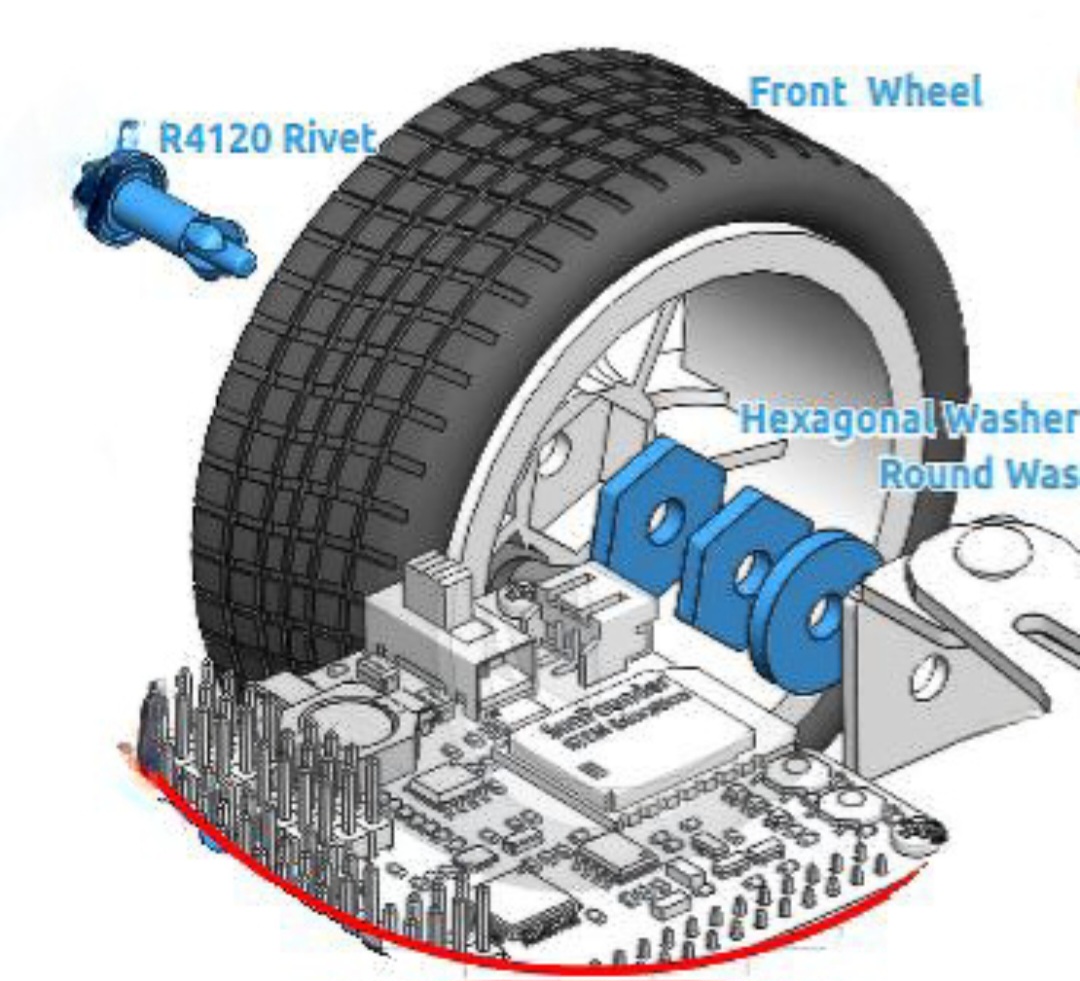
Next, insert an R4120 Rivet through one of the front wheels. Do not lock the rivet just yet!
Stack two Hexagonal Washers and one Round Washer on the rivet. Make sure to add the two Hexagonal Washers before adding the Round Washer to ensure the wheel will fit.
Once that wheel assembly has been completed, make another one identical to it.
You will then attach one of the wheel assemblies you just created to the A5 Structural Plate and the other to the A6 Structural Assembly as shown below.
After placing the two wheel assemblies in the correct places, you should now gently press the head of each rivet to lock them into place.