🥧 Step 1: Imaging the Raspberry Pi
The first thing we will need to do is set up our operating system on our SD Card. Find your SD card and your SD card reader. Plug the SD card into the small slot of your reader (make sure to push it in all the way). Then, plug the reader into a USB port of your computer.
If Using a Classroom Router
If you are a student working on this project in a classroom, ask your teacher for your router’s WiFi name and password as well as confirming your car’s hostname label (look for a sticky note or piece of tape as indicated by your teacher).
DEPENDING ON YOUR DEVICE, CLICK THE WINDOWS OR MAC TAB FOR INSTRUCTIONS.
INSTRUCTIONS FOR WINDOWS
📥 Download the Raspberry OS Imager software. Select Download for Windows.
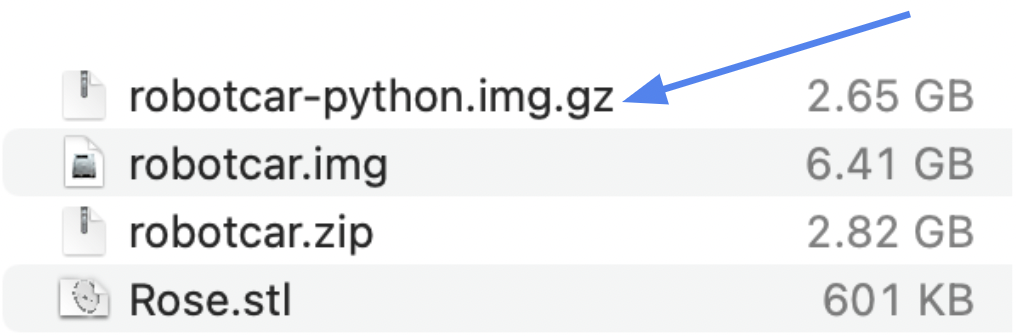
📥 Download the robotcar-python.img.gz file.
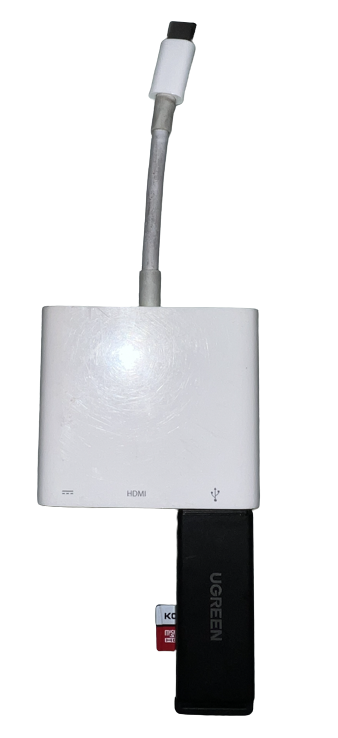
🧰 Insert your microSD card into the card reader and insert it into the USB slot of your computer.
💻 Open the Raspberry Pi Imager program and allow it to make changes to your computer.
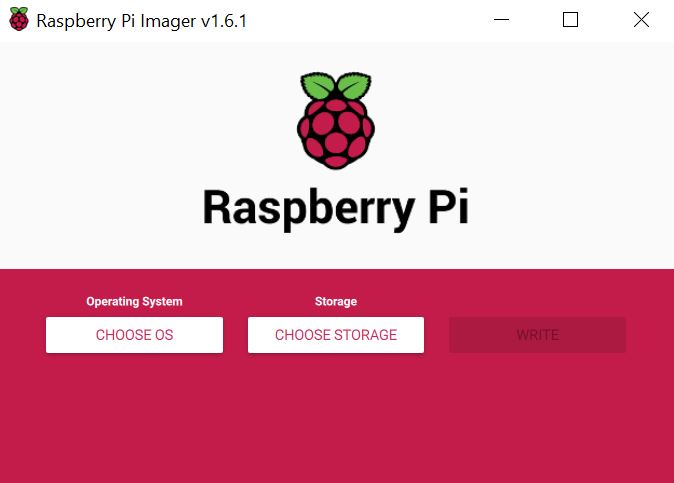
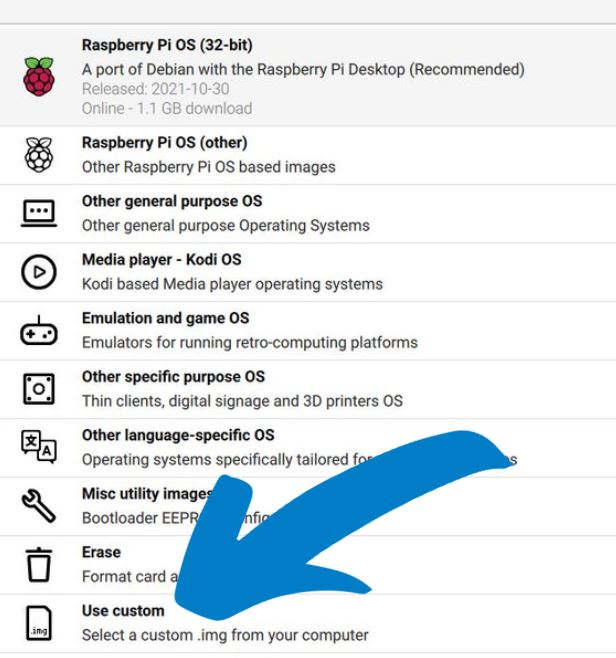
🖱️ For the Operating System → Click CHOOSE OS and select Use custom.
🖱️ Select robotcar-python.img.gz from your downloads.
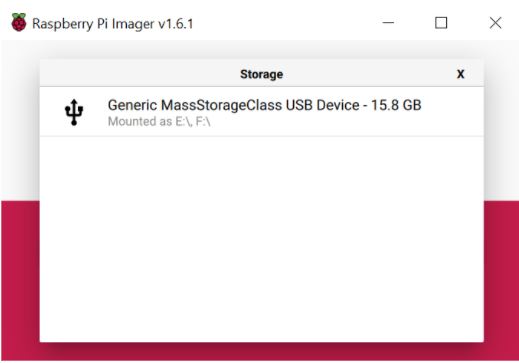
🖱️ For the Storage → Click CHOOSE STORAGE and select your storage device (this will be your microSD card in the reader and will show something like the image below).
⌨️ Open Advanced Options by clicking the Gear button.
🖱️ Under Image customization options, select for this session only.
☑️ Check the box for Set hostname.
⌨️ Type the hostname as robotcar (all lowercase).
⚠️ If you are in a classroom, ask your teacher for your car's hostname (check for a label on the car). Yours may be robotcar1 or robotcar2 for example.
☑️ Check the box for Enable SSH.
🔘 Select Use password authentication.
⌨️ Type the password as raspberry (all lower case).
☑️ Check the box for Configure wifi.
⌨️ For SSID: type in your WiFi Network Name (punctuation, spaces, and capitalization must match).
⚠️ If you are in a classroom, ask your teacher for the router's WiFi name.
⌨️ For Password: type in your WiFi password (punctuation, spaces, and capitalization must match).
⚠️ If you are in a classroom, ask your teacher for the router's WiFi password.
🖱️ In the Wifi country dropdown, select US.
☑️ Check the box for Play sound when finished.
☑️ Check the box for Eject media when finished.
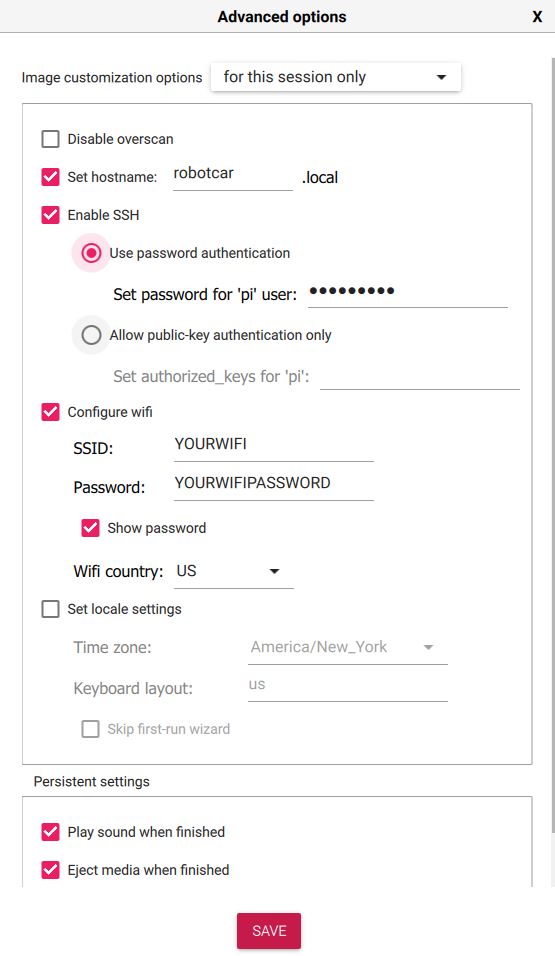
💾 Click SAVE.
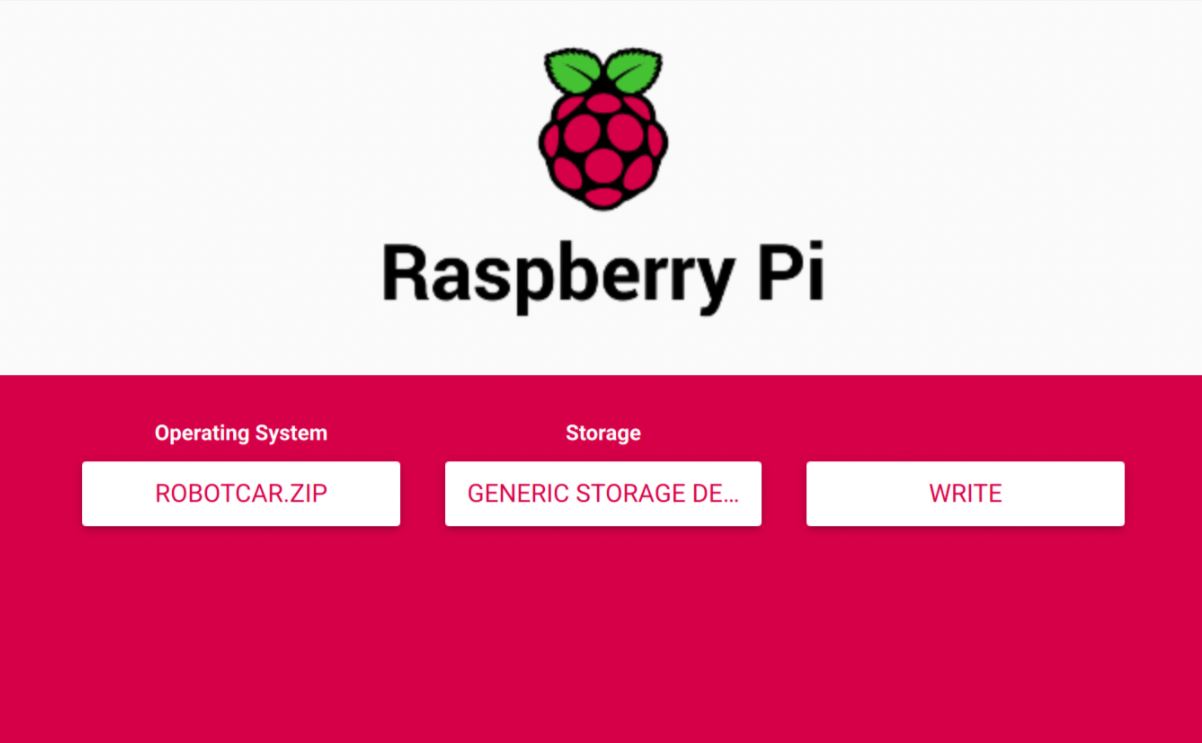
🖱️ Click WRITE to etch the Raspberry Pi OS to your microSD card.
 When finished, remove the device from your computer and insert the microSD card into the slot of the Raspberry Pi board.
 Download the
 While you wait on the Imager to finish creating the SD card, we can move on to actually building the car!
 or
or